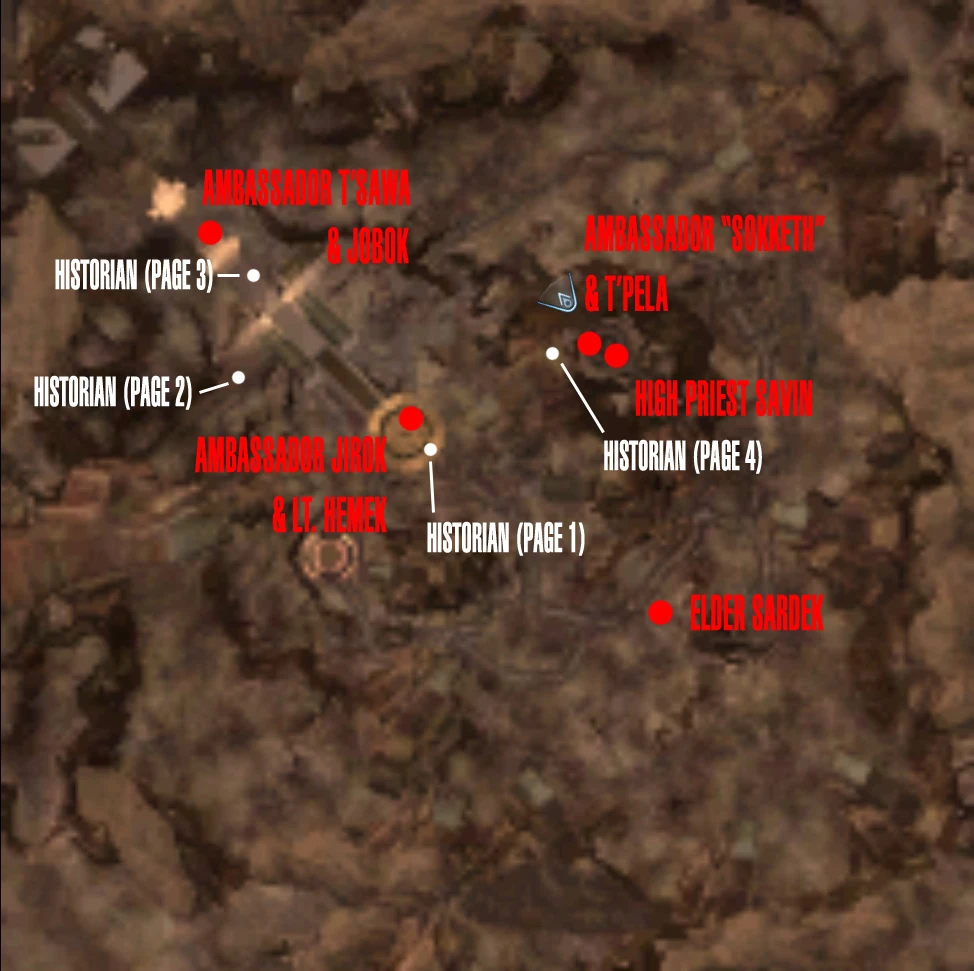
Map[ | ]
Starting[ | ]
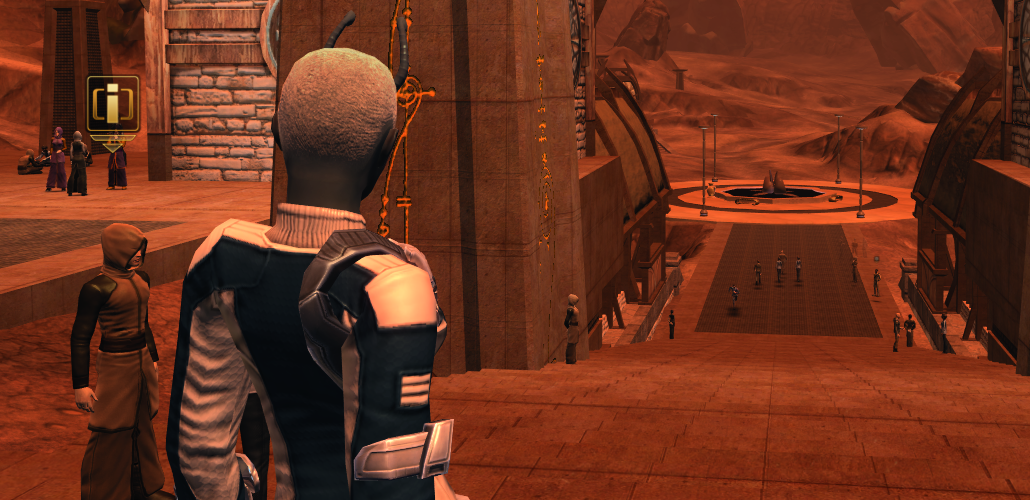
When standing at the very top of the long staircase, you'll want to look for a Vulcan woman named T'Sawa. If going down the stairs, she's about a quarter of the way down, on your left. She is the mission-giver.
Talk with her, and she'll inform you about the presence of a Romulan named Jirok who is on diplomatic assignment to Vulcan.
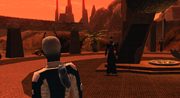
Jirok is at the foot of the stairs next to a large fountain. If looking at the fountain with your character's back towards the stairs, Jirok is very slightly to the left side of the circular fountain.
Jirok wil tell you that his life has been threatened, and will give you some detail about the incident. In particular he will point to four pages of the message which comprised the threat. These four pages contain allegations of how Romulan and Vulcan history are entertained. Unfortunately, most of it is transparently false — particularly if you have any knowledge of the Vulcan trilogy from season 4 of Enterprise.
After going through all the screens with Jirok, it will not be particularly apparent what you have to do next. Return to T'Sawa — now three-quarters of the way up the stairs from the fountain — and speak with her again. She will agree with you that the message couldn't have been written by a Vulcan, because its "history" is so obviously false. She will eventually obliquely hint that you talk to the Vulcan male on her right — Jobok. He will then propose a method of disproving the lies.
Finding history[ | ]

Start like this. To the immediate left of this Andorian is T'Sawa. In the distance, you can see the fountain. To your down left and right are people you're going to be talking to.
You must now seek out Vulcan historians who will go on record as disagreeing with the information in Jirok's threatening letter. There are about a dozen or so around. All of them give snippets of early Vulcan history, and are worth consulting if you enjoy the more immersive qualities of Star Trek Online. However, only four of the historians can actually help you end this quest.
If you place your character so that you're looking directly down the stairs, with Jobok and T'Sawa to your immediate left, then this "spotter's guide" will make finding the relevant historians easy and efficient. This guide is organized by proximity to T'Sawa, not page number.
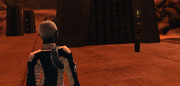
The "page 3" guy is just to the Andorian's left.
Page 3. Go forward (i.e. down the stairs) from T'Sawa. On your left, you'll soon bump into an historian. Talk to him, and you'll get information about page 3 from this NPC.

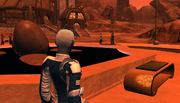
Page 2: You want to choose the guy on your left, in the distance. You can't even see him from the stairway.
Page 2. Remain on the stairs and turn your back on the Page 3 monk. Walk across to the opposite platform. (If you're looking down the stairs, it's the platform on the right.) You'll come to one historian almost immediately, but he's not the one you seek. You need to continue going forward and to the right. Your man is at the extreme right of this platform. He will give you information about page 2 of the document. Observant players will note that he essentially says that page 2 is correct. All remaining historians will tell you that the other pages are erroneous. Understanding that page 2 is correct is essential to completing the mission successfully.

Page 1: This guy's easy to find, but there's another historian that circles around the fountain.
Page 1. Continue going forward. Jump over the fountain to meet the historian that's on the edge of the fountain which is most opposite — or south of —the staircase. This guy will tell you about page 1.

Go precisely in the direction of this Andorian's antennae.


Final 4: The last monk has the best view.
Page 4. The final historian is the hardest to find. You must continue on forward, leaving behind the staircase and fountain area. Some large buildings will quickly appear on your left. Keep them on your left until you find some large, ceremonial torches forming a path up the mountainside. Continue up to the mountainside until you come to an area that looks like the main ceremonial area seen in "Amok Time". (Alternately, if you've already completed the "Diplomatic Orders" mission, you will recognize it as exactly the same area where you interacted with Ambassador Sokketh). Keep your character oriented so that it is looking towards the center of the courtyard. Go to the ceremonial gong at the very middle of the courtyard. Make a 90-degree left, so that the gong is now to your back. Continue forward. Before you reach the pathway leading out to a tower, turn again to your left so that you're climbing out onto a cliff. On the edge of that cliff is a female historian. She will tell you how wrong page 4 is.
Using history[ | ]
Now that you've collected your evidence about all four of the pages, it's time to return to Jirok. The easiest way of doing this is simply to jump off the cliff. The female historian is essentially looking in Jirok's direction. (Before you do, though, take some time to sightsee. Move your camera around 360 degrees from the top of the cliff. It's a pretty spectacular view of an iconic Star Trek location — particularly if your video card can take all the highest settings.)
After jumping down the mountain, go to Jirok and present your evidence. Only challenge pages 1, 3, and 4. None of these pages should present the option, "This is actually the one and only page that has correct information". If you find that option when discussing pages 1, 3 and 4, it means that you somehow haven't talked to the right historians, and you'll need to select, "On second thought...", and retrace your steps to find the monk you're missing.
After you've challenged the "bad" pages, it's time to go for the good one. You need to be very careful during this phase of the quest. There is one and only one correct path. If you choose anything else, Jirok will beam out, the quest will fail, and you'll have to drop the quest and start all over again.
When you talk about page 2, select the option which says, "This is actually the one and only page that has correct information". Hemek, the Romulan to Jirok's right, should now protest, "They're lying!" This is a successful outcome for this portion of the quest. Note: You can present the pages in order, just select, on second thought for the second page, Hemek will retort when the final piece of information is given.
Now your ship will contact you with writing samples and a tipster. Find the third option in the window that says something like, "Compare these communications with others from Jobok" and two more options should appear. Basically, your team back on the ship are telling you that Jobok is the one who sent the message. However, you may not get the complete communication from your crew if you're standing in either Hemek or Jobok's presence. Thus, you may have to momentarily step back towards the mountainous area in order to have private communication with your ship. Or perhaps an area on the stairway between Hemek and Jobok will work. In either event, you need to get your crew to give you an option that reads, "Did Jobok write the notes?" Note: After you confront Jobok, and select everything other than 'Explain yourself, which you may exit with "On second thought..." if chosen, then you will be notified you need additional samples, step away from the two, and communicate with your ship again. You will see the Question "Did Jabok write the notes?", after you do this one, Jabok's option to "Do the right thing" will appear. This can be thought of as confronting Jabok, then after finding you need more samples, contacting your ship and asking "Did he write them?". After than, you think of telling him to do the right thing. Template:Editor-Note this area needs cleaning up after confirming the Notes above.
Once you've successfully gotten your crew to confirm Jobok's complicity, return to Jobok. (Again, he's beside T'Sawa up on the stairway.) In the dialogue tree started by the option, "Explain yourself," should be an option for, "This is your chance to do the right thing". (If there's not, you'll need to leave Jobok's presence and communicate with your ship until you get that option for, "Did Jobok write the notes?") Once you've given Jobok the opportunity to "do the right thing", you're almost done with the quest, though this fact will not be particularly apparent. You'll finish with Jobok without any particularly clear idea of what to do next. T'Sawa will certainly be no help at this juncture.
What you have to do is go talk to Hemek, down by the fountain. Select "Jobok has revealed the truth", and the whole thing will wrap up. Jirok will disclaim Hemek and promise punishment. He'll also tell you to return to T'Sawa one last time to say that he will be staying on Vulcan for the diplomatic session, after all.
When you talk to her, she'll tell you that Jobok, too, will be punished, and thank you for your service. You will receive, among other rewards, 100 Diplomacy XP. Check your Diplomacy points in the Progress area of your character's Status window.